If there’s one thing I’ve learned over the years, it’s this: even the best kitchen design falls flat without the right lighting.
Case in point—Melissa and Darren’s renovation project in Sacramento. Beautiful layout. High-end materials. Solid craftsmanship. But when I walked into their newly finished kitchen?
“Mike,” Melissa said. “It looks… dull. We spent all this money and it doesn’t feel right.”
That’s when I looked up—and realized the problem was above their heads. Their builder-grade lighting just wasn’t cutting it.
Here’s how we fixed it, step by step, with help from a professional kitchen lighting installer—and how you can do the same.
🔍 Step 1: Evaluate the Current Lighting Situation
Before we added a single fixture, we assessed what was working—and what wasn’t.
What we found:
- One outdated central ceiling fixture
- Poor task lighting over the stove and prep areas
- No under-cabinet lights
- Cool fluorescent tones that made the space feel cold and uninviting
Pro tip: Stand in your kitchen at different times of day. If you’re squinting during dinner or working in your own shadow while cooking, it’s time for an upgrade.
💡 Step 2: Plan for Layers of Light
Lighting isn’t just one fixture—it’s a system. A great kitchen lighting installer knows how to create layers:
- Ambient lighting – soft, general lighting for the whole room
- Task lighting – focused beams over sinks, stoves, and prep areas
- Accent lighting – toe kicks, cabinet interiors, or open shelving highlights
- Decorative lighting – pendants, chandeliers, or statement fixtures
This approach doesn’t just brighten a space—it creates dimension, which is essential to modernize kitchen design.

🛠️ Step 3: Choose Fixtures That Work for Your Style and Your Wiring
Melissa wanted clean, minimalist lines. Darren? Industrial chic. We found common ground with matte black hardware and warm-toned LED under-cabinet strips.
We worked with their installer to:
- Update wiring and install dimmer switches
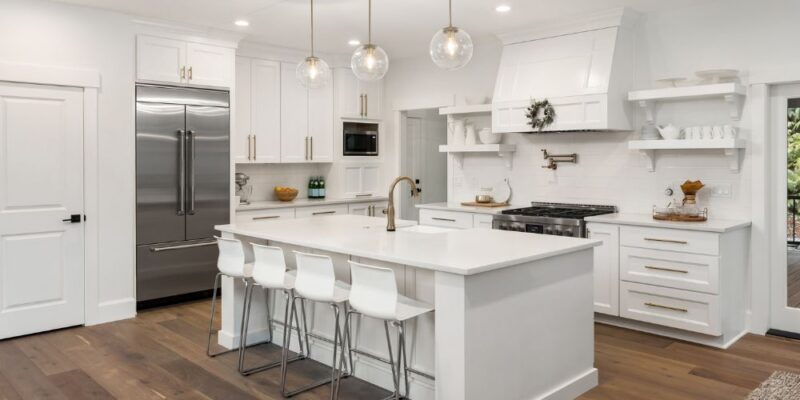
- Add three pendant lights over the island
- Run concealed LED tape lighting under upper cabinets
- Recess new ceiling lights with warm 2700K LED bulbs (not harsh white)
These choices created both function and softness—two things that were missing before.
✅ Step 4: Test, Adjust, and Finalize
Lighting is personal. It’s about how your space feels.
We tested each zone, adjusted brightness levels, and even repositioned one pendant slightly to ensure symmetry. That’s the kind of detail a pro will never overlook—and what elevates your kitchen from “fine” to “fantastic.”
✨ The Result: A Space That Shines—Literally and Figuratively
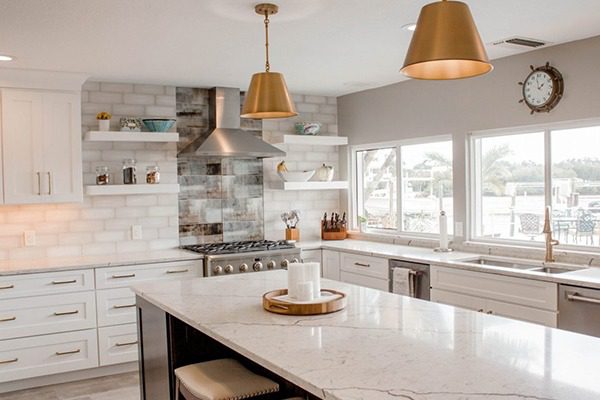
By the end of the project, the kitchen didn’t just look better. It worked better. From chopping veggies to pouring wine at night, every task had its moment—and the entire room felt warmer, brighter, and more modern.
“This is what we were missing,” Melissa said.
“It feels like a magazine kitchen now,” Darren added.
Mission accomplished.
Final Word from Mike Holmes
If you want to modernize kitchen design, don’t start with paint or tile. Start with light.
A smart lighting plan—installed by a trusted kitchen lighting installer—can bring your whole renovation to life. It’s not the flashiest update, but it’s one of the most important.
Because when your kitchen is lit right? Everything just works better.
Need help building your lighting layout or selecting the right bulb temperatures? I’ve got you covered. Let’s make sure your kitchen shines in all the right places—because good lighting isn’t a luxury, it’s a necessity. 💡🔧

Comments